Light
Light
Light is what makes a photograph. Photography is painting with light and your canvas is the film. Light provides an unlimited number of colors to paint with.
Throughout the day the natural light is constantly changing. The nature of the atmosphere that sunlight must penetrate influences the colors. When the angle of the sun is low, the light must pass through a thicker layer of the atmosphere. When the sun is high in the sky, its light passes through a thinner atmospheric layer. The low angled light enhances the yellow, red, and orange colors, while the high noon light creates intense blues and greens.
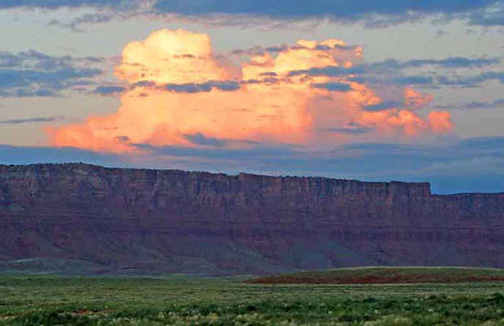
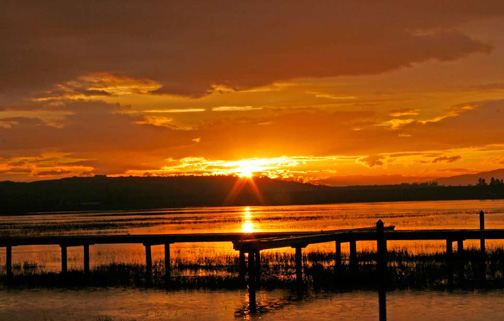
Sunsets are more vivid than sunrises because during the day afternoon storms and man-made pollution have put more dust and moisture into the air. As a result, the light at sunset
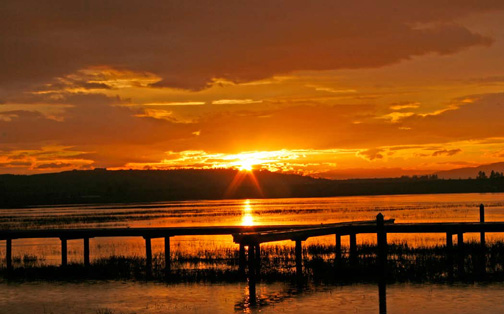
passes through a thicker atmosphere and the intense red, orange and yellow colors are enhanced.
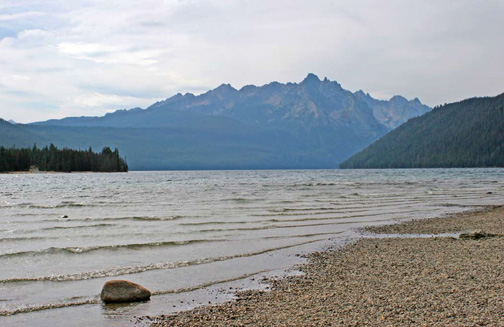
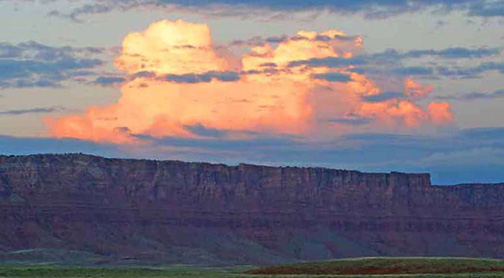
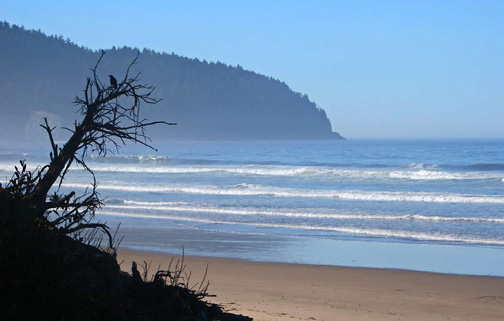
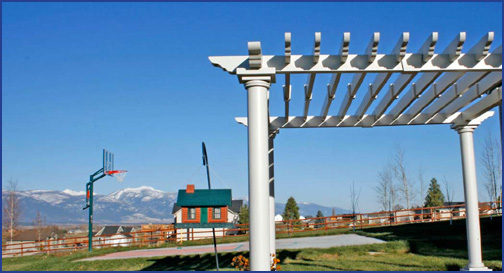
On a clear, cloudless day the amount of sunlight can be intense. The sky reflects its color into all areas of the landscape. Snow and water appear sky blue in color; it is the cloudy days that the photographer prefers because the colors of the clouds reflect upon the landscape. Extreme contrast is eliminated and the subtle delicate colors are enhanced. High, evenly dispersed white clouds are the best ones; low dark gray clouds are undesirable because they tend to dull the colors.
Sunlight is brightest at high noon which results in both brighter lighting and whiter highlights. Shadows are more intense and the contrast is amplified. High noon on a clear day is a bad time to take photos. Pray for clouds, especially white ones; they reduce the light intensity and harsh contrast.

When I take photos at midday with a clear blue sky, I place the polarizing filter on my lens. This improves the highlights and reflected glare. It also enhances the blues of the sky and the greens of the trees. So not all is lost on a sunny day: just screw on that filter and you’re in business. Also Photoshop’s Shadow/Highlight feature, Hue/Saturation, and the Levels program can enhance midday photos.
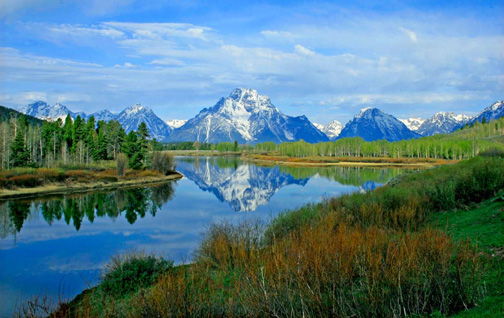
Regardless of the coloration of the sunlight, the sky will always reflect its colors onto the landscape. Gray skies reflect gray shades while a blue sky reflects blue colors.
Hence the time of day influences the colors. There are three times to deal with: twilight, sunrise/sunset, and midday.
Twilight is the predawn condition when color begins to show in the black night sky. It first shows up as a hint of blue in the lower sky and warms up to bands of yellow, red, fuchsia and magenta. A clear sky contains the blue shades that change to pink. Each day varies according to the amount and position of the clouds.
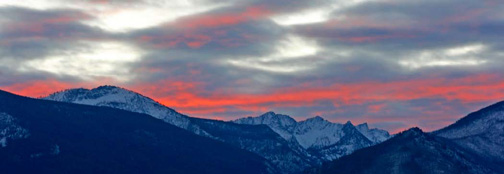
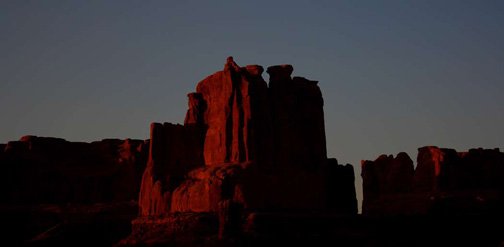
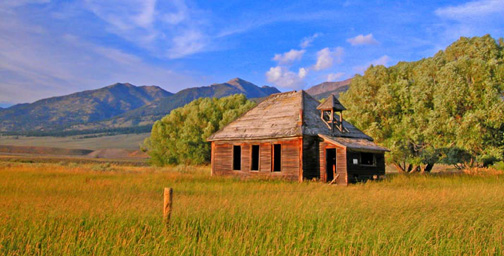
Sunrise and sunset is when the light strikes the highest features in the landscape. These are warm yellow tones with broad shadows.
An Alpenglow can occur minutes before sunrise and immediately after sunset. Rich red colors can turn a grey peak afire with color. They are caused by the sun reflecting off of the atmosphere and onto the high places. Sunlight reflects twice, once as it penetrates the atmosphere and again when it skims off of the atmosphere’s surface. Alpenglow can make great photos.
Sunrise ends when the light becomes intense and exceeds a 30 degree angle. Now midday occurs when the sun is at its highest angles. Midday is a poor time to take pictures unless the sky is shrouded with high white clouds. Under a clear sky the shadows can be chaotic, the highlights are washed out, and the colors appear dull. Pray for cloud cover.
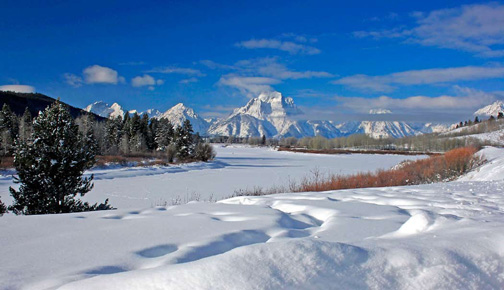
Winter photography has better lighting conditions than summertime. During the winter the angle of the sun is less than 30 degrees for much of the daylight hours. It’s like a perpetual sunrise/sunset.
Color is one of the most conspicuous elements of photography. It can make an excellent photo. Sunlight is made up of white light. This white light contains all of the spectrum colors. When we view an object we see the color that is not absorbed but reflected by the object. Black is not a color: it is the absence of light or reflected color.
The cool colors are the blues and greens. The warm colors are the yellows, oranges, and reds. During low light the atmosphere absorbs the cool colors and reflects the warm colors. The opposite is true during high light conditions. That is the warm colors are absorbed and the cool colors are reflected.
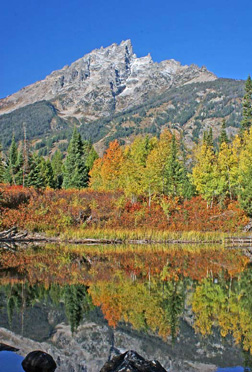
Complementary colors help make the subject stand out from its background. Complementary colors are the opposites on the color wheel. That is: yellow versus blue, cyan versus red, and green versus magenta. Yellow aspen leaves contrasted against a deep blue sky is attractive because it makes these leaves more prominent. A red bush against a green background stands out. Simply look for complementary colors when you want the subject to pop out of its background.
Harmonious colors are similar to each other and close to each other on the color wheel. For example yellow is similar to red and green is similar to blue. Composing together harmonious colors can help make attractive photos.
Pastel colors are subtle versions of intense photos. In nature pastels commonly occur singly, combinations of pastels are rarer, but during sunrise and sunset the sky can reflect the light pinks and light blue hues.
Warm, soft lighting allows colors to stand out, but harsh lighting dulls these colors.
In black and white photography you may want as much contrast as possible. Now you’re working with black and white only. Gray scale photos lack the distraction of color. The eye is directed to the subjects shape, texture and edges. Black and white photos stimulate the eye and portray emotion.
Sunset provides the most intense colors because the daylight has stirred up the atmosphere by adding additional dust and moisture
from the afternoon storms and man’s activities. That’s why a sunset has more intense colors than a sunrise.
There are three basic major directions of light and one additional minor one. They are:
- Front lighting
- Side lighting
- Back lighting
- Bounce lighting (minor)
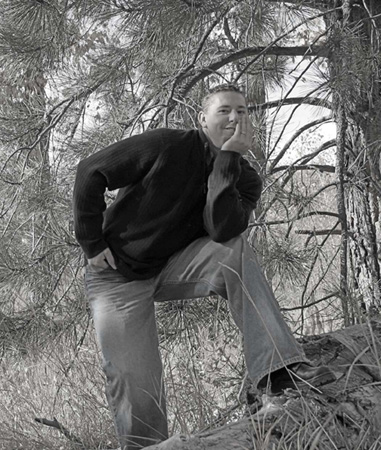
Front lighting is what every amateur photographer uses. He places the direct sunlight upon his subject and you can see the subject squint or close their eyes in the photo. Because of the difficulty to make features stand out and the lack of contrast frontal lighting is not the best to use. The frontal lighting shines over the back of the photographer and camera and shines directly upon the subject. It’s even lighting and its shadows are projected behind the subject. Contrast is low.

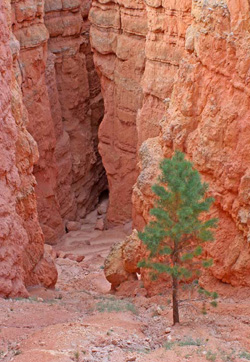
Side lighting is the easiest to work with because the light shines into the scene from either side. The shadows are apparent and this creates contrast that can draw the eye into the scene. The sidelight illuminates
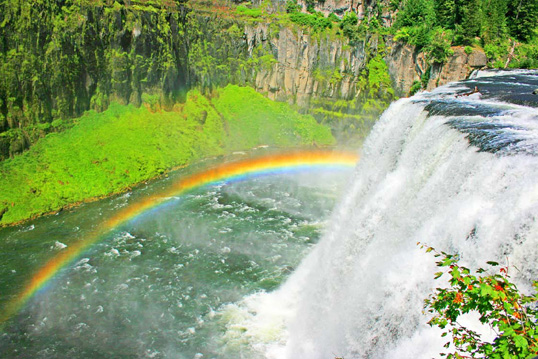
transparent objects such as leaves, flower and grasses. These light up in color and seem to glow. Side lighting is preferred for the landscape scenes.
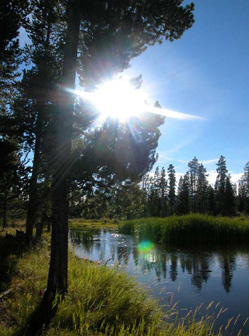
Back lighting is more difficult to work with but produces very desirable affects. Its contrast is enhanced and the subject can be enhanced. But the exposure can be difficult because both the eye and the camera dislike looking into the sun. Lead-in light lines can direct the eye to the subject while sun stars can enhance the scene. Foliage glows from the light passing
through them, but sun flares can detract because they occur at dirty spots on the camera lens. Strong silhouettes can be created by adjusting the desired Shadow/Highlights in the Photoshop program.
Bounce lighting occurs as it’s reflected off of a landscape structure. A canyon wall can diffuse its light, illuminating a once shadowed area. This is a soft light which leads to enhanced details and subtle colors in the shadows. The lighter the structure the more light it can reflect.
Train your eye to notice the subtle changes in lighting and its effect on coloration. Practice daily on your walk or commute by learning to look at the effects of light. I once studied the book Drawing on the Right Side of the Brain by Betty Edwards. After a half dozen chapters I could look at things differently from a new creative point of view. Now I can purposefully click into and out of my creative side. I find it most useful in capturing my subject.
The bright sunny days may not be your best choice for photography. I once looked for these blue-bird days mistakenly thinking that they were best, but it is the overcast days that are preferred. The best ones have high white clouds that evenly cover the sky.

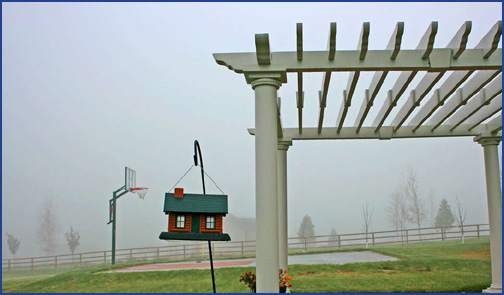

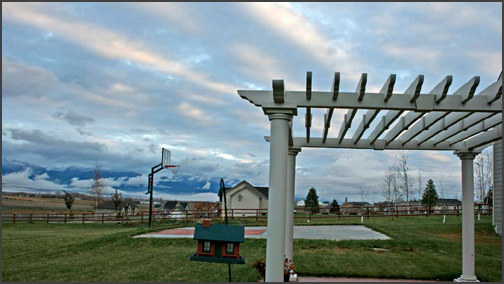
Low, dark clouds are not desirable because the colors will be dulled by the sky’s reflection of gray, but these days can be good times for close-up work. Textures and artistic designs are more evident under dull grey skies.
Wet weather lighting can provide striking results for it brings out deep moody emotions.
The deep, rich colors are also enhanced. Photos are limited to close ups.
Bracketing can be helpful in back lighting conditions and in working with lowered angled sunlight. Winter/snow lighting is another condition best handled by bracketing. These conditions make choosing the correct light reading difficult. By taking three differently exposed photos one of them is more likely to be what you want.
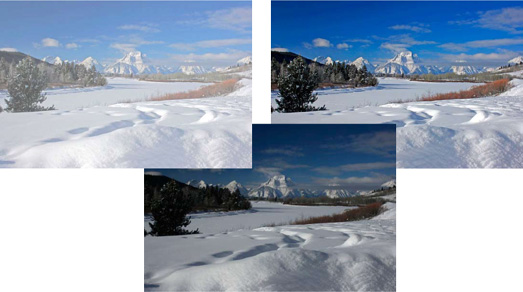
Snow is a bright reflective surface. It acts as its own light source. It skews your auto light meter towards brightness. This makes the subject underexposed and can appear as a dark shadow. Try to capture the light meter’s reading off of the subject then compose the photo.
Natural light is an ever changing phenomenon. Train your eye to see when it best illuminates a subject. Be ready and prepared to immediately capture the scene. Know your equipment well and don’t waste time trying to figure it out in the instruction manual. The light will change and it’s more likely to change for the worse. Plan your photo times for the best times and conditions when the light is most likely to be at its best.