
Do-in and… get ready to relax!
Do-in is a combination of techniques based on shiatsu, called the “physiotherapy of contact”. The technique can revitalize and relieve physical and mental tensions.
+ Shiatsu means “finger pressure” in Japanese. Using the rhythmic pressing of acupressure points for short periods, this shiatsu technique is a treatment which works on the meridians of the body to put our chi or life energy in balance. This treatment regulates imbalances in the chi that can provoke illnesses. Shiatsu, through do-in massages can correct internal imbalances, especially those that are produced by the tensions and stress that in many cases cause insomnia. Practicing the following exercises before going to bed can induce a deep relaxing state making a harmonious night's sleep possible.
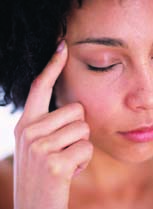
TO RELAX YOUR NECK
In a sitting position on the floor, with your legs crossed, back straight and your eyes closed, imagine that the point of your nose is a pencil. Use your nose to draw big circles, with slow movements, going from the right to the left. After tracing various circles, rest your head looking toward the front and then continue to the right.
This exercise not only relaxes your neck and brings well-being but it also releases tight, achy muscles that can keep you from sleeping.
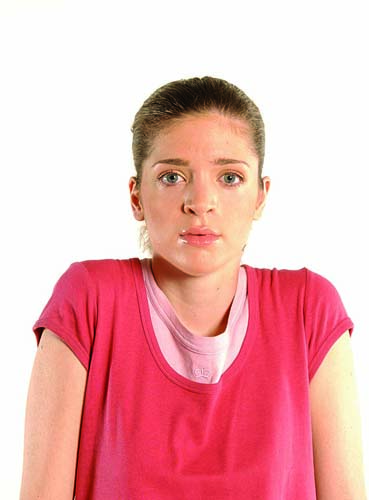
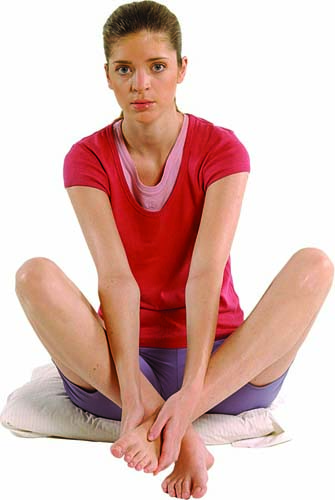
TO BEGIN
- 1. Gently pat the body, patting the arms, hands, legs and feet.
- 2. Separate your legs and relax your knees.
- 3. Straighten the back and relax your shoulders.
- 4. With your eyes closed, breath naturally and concentrate on how your body feels, paying special attention to the areas that are tense and achy.
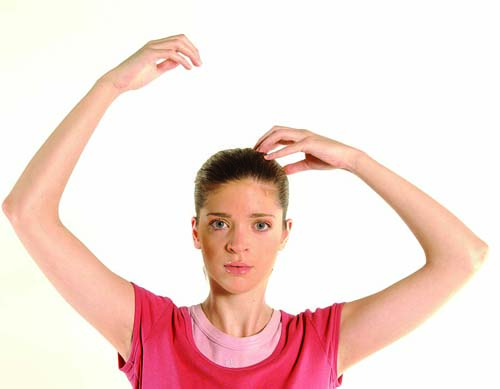
HEAD AND FACE
1. With your fists partly closed, relax your wrists and gently tap on the crown of your head.
2. Next, continue tapping gently on your head with your hands open, using your fingertips or the palms of your hands. Cover your entire head with taps, including the temples, forehead and neck.
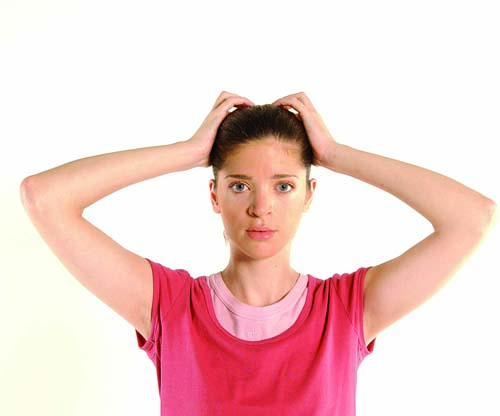
3. To stimulate the meridians that cross your head, run your fingers through your hair several times.
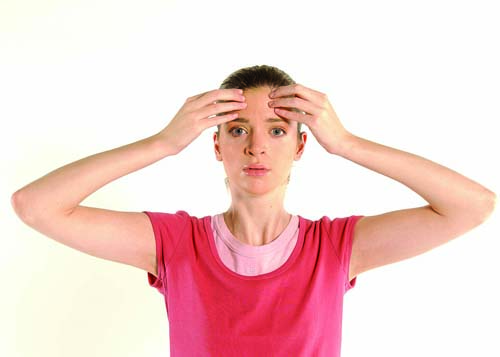
4. Continue on your forehead, pressing with your fingertips, moving from the center of your forehead to your temples. Repeat three times.
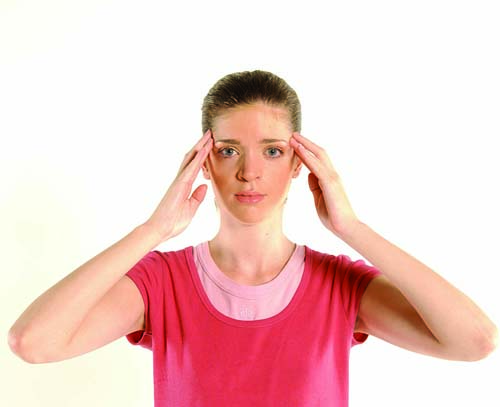
5. Gently and repeatedly massage your temples. Make sure to relax your eyebrows and shoulders.
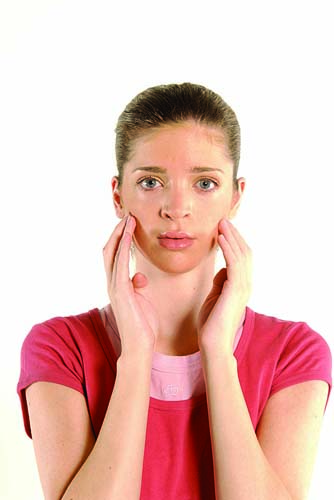
6. Now massage your cheeks, moving from your temples to your jaw.
7. Apply pressure on your jaw, from the center to the sides, relaxing and stimulating your saliva glands.
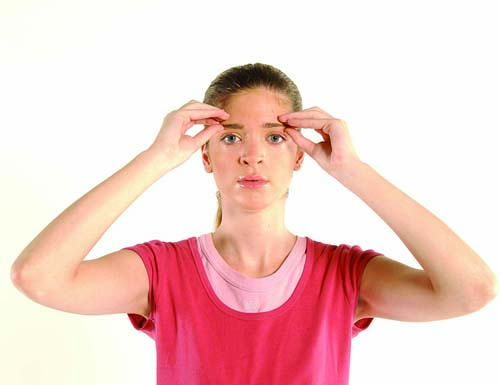
8. Apply pressure with your index fingers and thumbs of both hands on your eyebrows, from the center moving outward. Repeat several times.
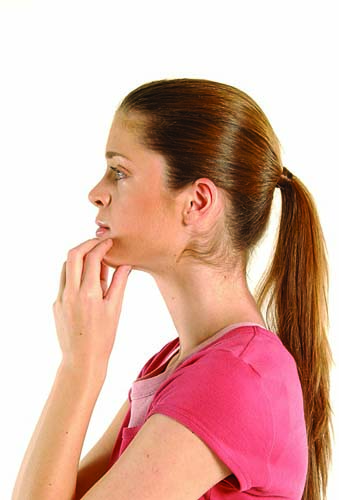
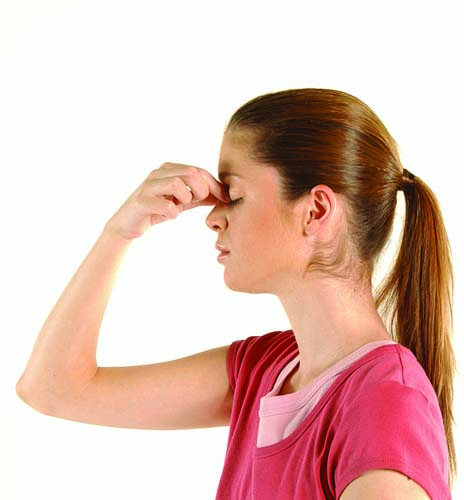
9. Apply pressure on the point between your eyebrows with your thumbs.
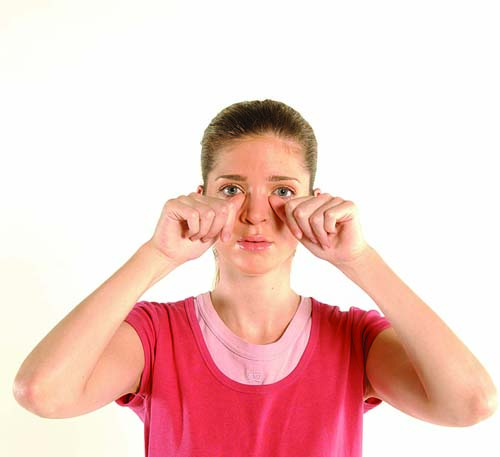
10. With your index finger and thumb, pinch the bridge of your nose and the outset of your eyes. This exercise is ideal when your vision is exhausted.
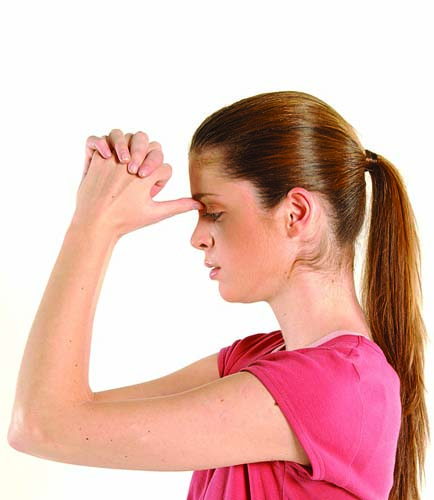
11. To clear a congested nose, press your thumbs against your nose, keeping your other fingers bent. Inhale while you quickly rub your thumbs downward. Repeat three times.
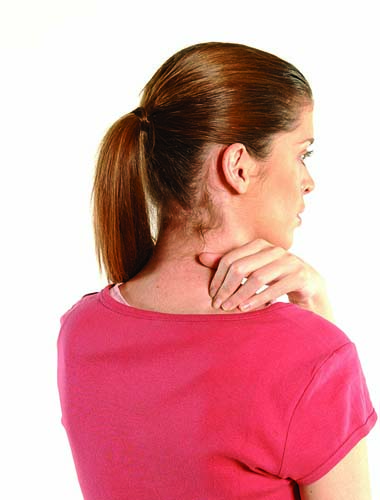
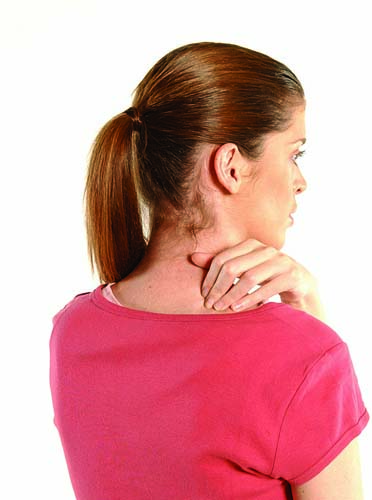
NECK
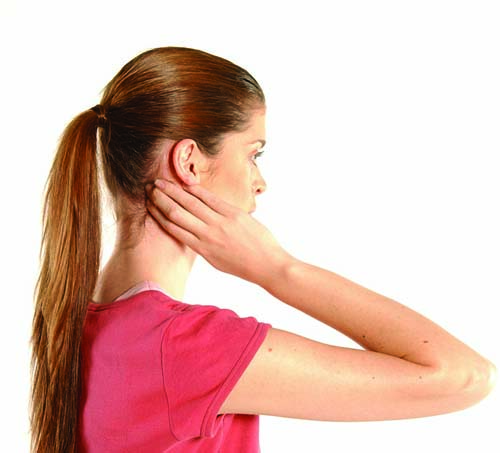
1. Place the palm of your hand on your neck and apply firm, circular massages.
2. With your thumbs, apply pressure on the base of the skull. Move the pressure upward.
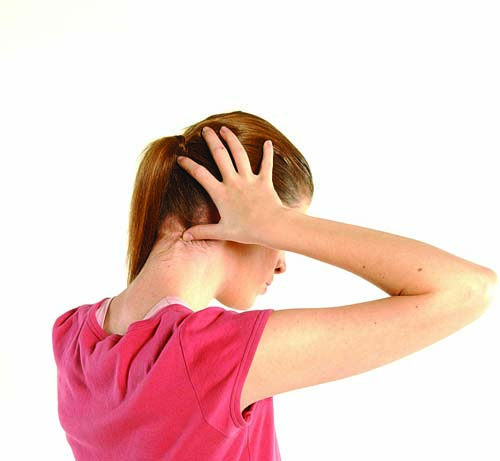
3. Rub your fingers over your muscle fibers at the base of your skull to loosen the muscles and tendons in the area.
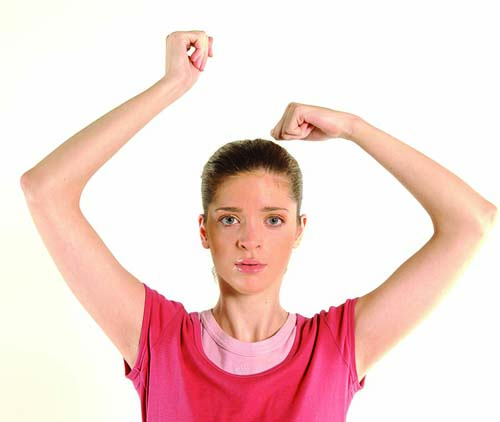
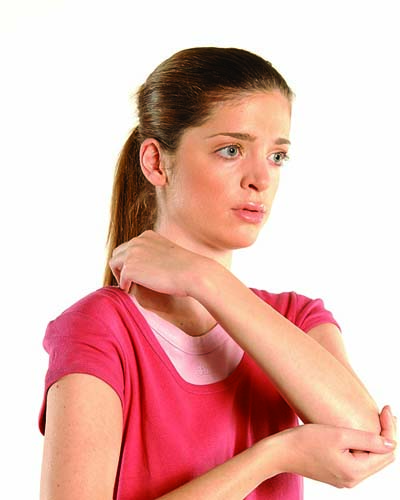
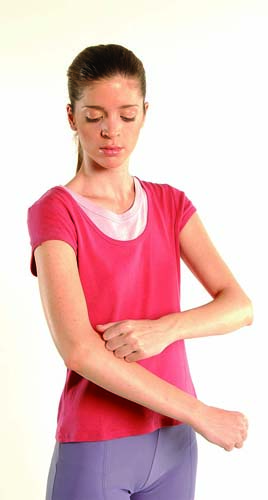
SHOULDERS, ARMS AND HANDS
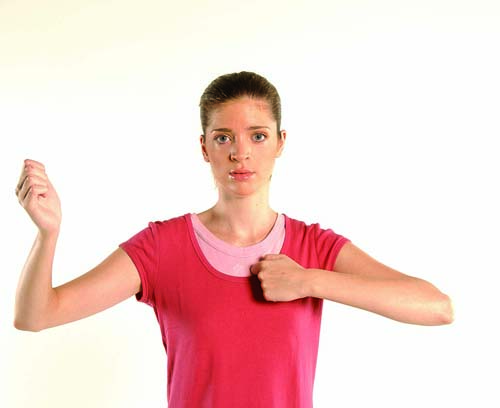
1. First, shake the arms outward to relax them. Next, lift your shoulders, inhaling. While you exhale completely relax your shoulders as you drop them back down. Repeat three times.
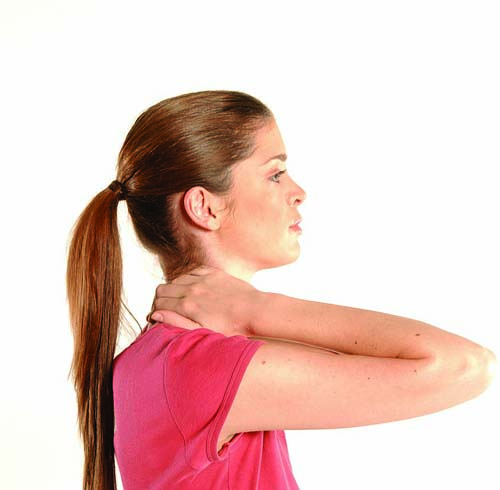
2. Support your left elbow with your right hand. With your left hand, gently hit your right shoulder, with a lose fist.
3. With your middle finger apply pressure to the highest point on your shoulder. Warning. This self-massage is not recommended during pregnancy.
4. With your arms stretched out, apply gentle taps with the palm of your hand on the inside of each of your arms, moving from your shoulder all the way down to the palm of your hand. Repeat on both arms.
5. Turn your arm over and hit your outer arm, moving up from the hand to the shoulder.
6. With your left thumb, massage the palm of your right hand (you tend to store a lot of tension in this point). Next, repeat on the other hand.

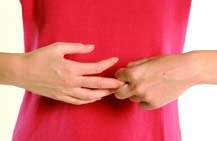
7. On each hand, apply pressure to the point between the index finger and the thumb. This can cause a sense of general well-being and fights stress and diarrhea. Warning. It is not advised to use this massage during pregnancy.
8. With your index finger and thumb, apply pressure and gently massage the joints of each of your fingers.
9. Stretch each finger of both hands. This exercise fights stress and tension.
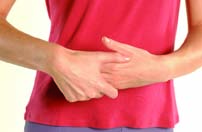
CHEST, ABDOMEN, AND BACK
1. Straighten your back and push out your chest. Gently tap on the chest, on and around the breasts or chest muscles and along the ribcage.
2. After taking in a deep breath, repeat the previous exercise, this time giving out an “ah” sound as you exhale.
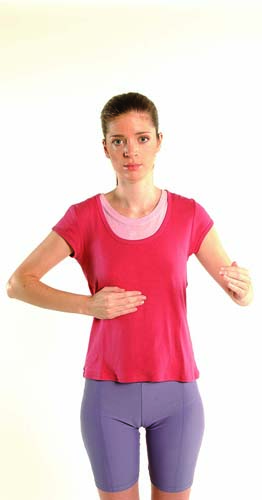
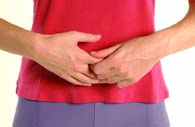
3. Continue tapping downward until you reach the abdomen, in clock-wise movements, moving down on the left side and upward on the right side. This will accompany the flow of circulation and digestion.
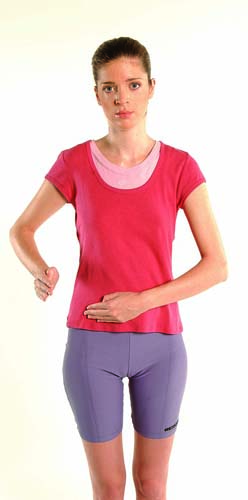
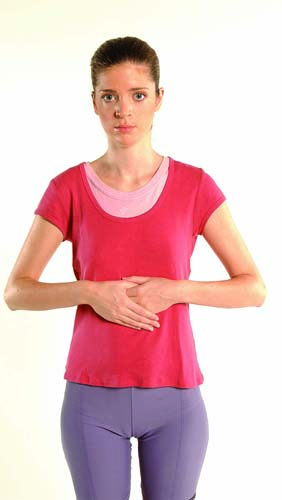
4. Place one hand on the other and gently massage the abdomen.
5. Place your hands on the back, below the thorax, where your kidneys are located. Rub several times, until you feel heat from your hands on your body. Next, apply small taps with a relaxed fist.
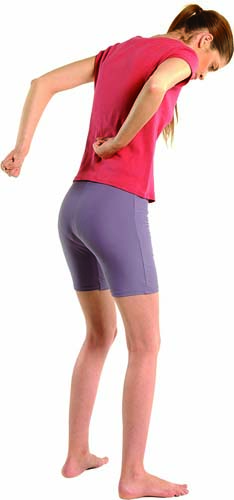
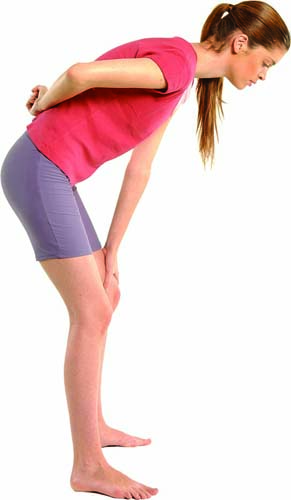
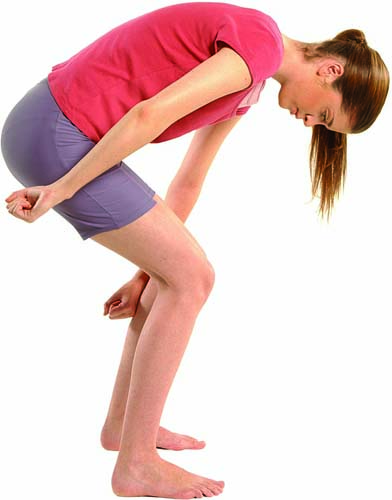
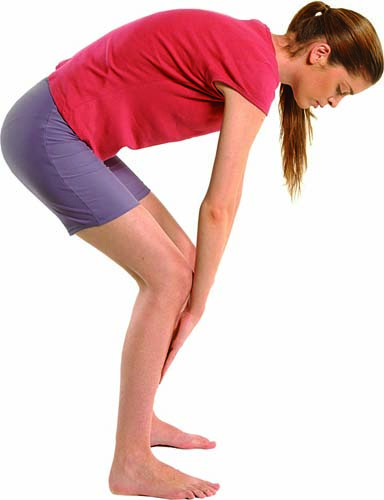
6. Bend forward, and place your hand on one of your knees. With the back of your other hand lightly tap on the lumbar region between the ribs and the base of the spinal column. This is a therapy to clear your mind and activate brain signals that stimulate the nervous system.
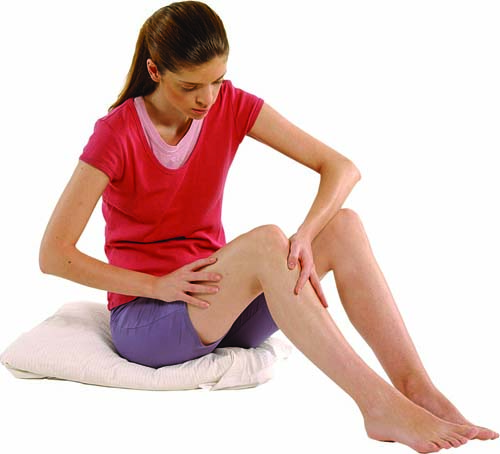
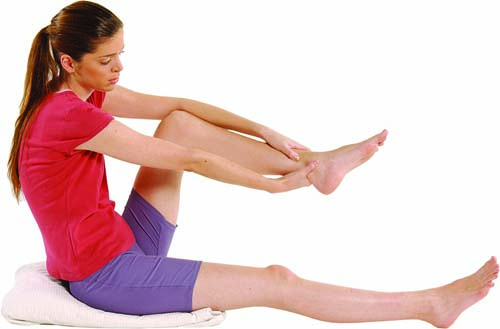
LEGS
1. With a loose fist, apply gentle blows along the backs of the legs from the hips to the calves.
2. Separate the legs, bend the knees and gently tap the front of the legs, from the thighs all the way down to the ankles.
3. Now on the inner part of the legs, gently use the same tapping method from the ankles to the groin. Proceed to the outside of the legs in a downward direction and then return upward along the inner part of the leg. Lastly, tap the front of the legs, from the thigh down to the arch of the foot, then return to the inner part of the leg and tap upward.
FEET
1. In a seated position on the floor, hold onto your left foot with both hands and move the foot in circular movements to loosen the joints.

2. Next, with your thumbs massage the base of your foot. Apply special pressure on the point a third of the distance from the base of the second toe and the edge of the ball of the foot.
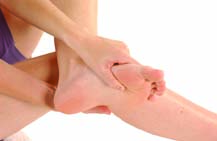
3. Press on the point between your big toe and second toe on the front of the foot.
4. Wrap your hands around your left foot and rub it. Continue using the same technique on the right foot.
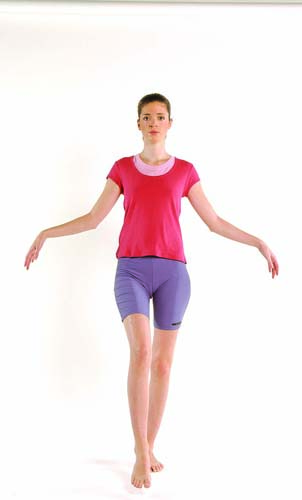
TO FINISH A SESSION
As when you started, stand up and gently shake out your body. Standing with your legs spread shoulders width apart and your knees slightly bent, straighten your back to facilitate the flow of the chi. Allow your mind to travel throughout your body and feel your relaxed state.
Comment about this article, ask questions, or add new information about this topic: